GPS project: box it up
Now that the hardware side is pretty much wrapped up I wanted to build a simple enclosure so that I could start field testing. I’ve already spent way too much time trying to find a prebuilt enclosure that would fit the components nicely. As I get further along with my projects I’ll write more about enclosures.
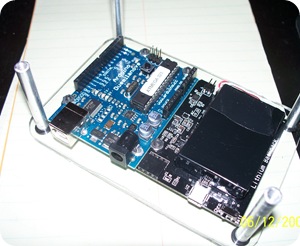
Inspired by the design of the Digg Button and Wave Bubble, I decided to do a simple sandwich of acrylic sheets and spacers. I couldn’t sandwich the boards directly like was done in those projects, so I decided to mount my boards to the back and face of the enclosure. With this basic design in mind, and some notes on what size screws each board could take, I set off for the hardware store.
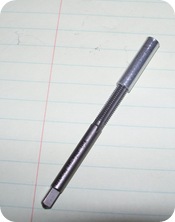
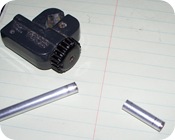 For the mounts I used 1/4” x 030 (6.35 mm) aluminum rod. I chose this size since it’s just small enough to be tapped for a 10-32 screw.
While SAE and metric sizes are not interchangeable, a M5 x .08 is pretty close to this.
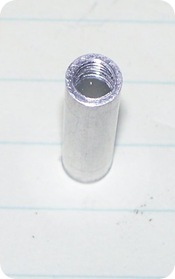 I cut the rod to length with a twist pipe cutter and then tapped both ends with a 10-32 tap.
Tapping the aluminum is pretty easy going, just make sure to use a little oil to keep the tap moving smoothly, and back up every few turns to keep the cut smooth.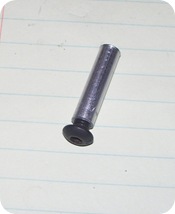
I cut and tested a small piece of the rod before moving on to the full length pieces.
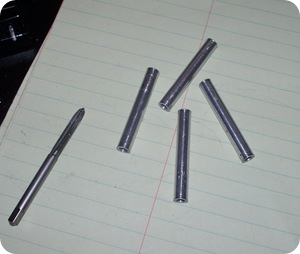 Once I was happy with the test piece I measured, cut, and tapped the 4 corner pieces.
I Used a paper towel between the rod and the pliers to keep from marring the aluminum while tapping them.
Even after measuring and cutting carefully there was still a small difference in the length of each piece. I used a sander to bring them all to the same height, and chased the threads with the tap again.
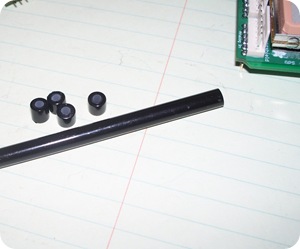
I found rubber grommets to use as standoffs for the Arduino and Lithium Backpack boards, but couldn’t find any small enough to use for the Bluetooth board. For these I used short sections of macroline that I had in my paintball gear box.
Macroline is 1/4” nylon tubing that cuts easily with a razor blade. I had a bit of trouble getting it to cut straight at such short lengths, so I used the pipe cutter to score a deep ridge (the pipe cutter can’t cut the line since it is too soft). Then I used the ridge as a guide to cut the line by rolling it on the desk while pressing the razor blade into it.
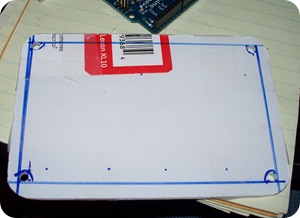 I cut the Lexan (polycarbonate) sheet that I got at Lowes, and rounded the corners.
I just happened to have a small corner rounder from a prior business venture, but you could achieve the same effect with a band saw, or sander.
Once I had cut the top and bottom sheets, I taped both together and marked and drilled the outside corner holes. I also marked the holes for the Arduino and the Lithium Backpack while I was laying everything out.
Next I mounted the corners and the boards to the polycarbonate sheet. The boards are mounted with 4-40 screws (again, not exact but M3 x .05 is pretty close). I had purchased nylon washers in case the nuts were too close to a traces or component on the boards, but it turned out that I didn’t need them.
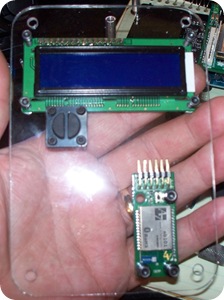
I then repeated the steps with the front. The LCD is mounted with 4-40 screws, as is the Bluetooth.
The Bluetooth only has 3 screws right now, since the hardware store only had 9 of that size in stock, and I used 6 to mount the boards. For now it does the job just fine.
The switch is mounted with 2-56 screws (approximately 2.1 mm).
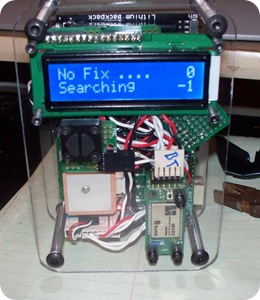
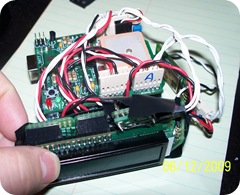
Once I had the face done, I started routing wires to get everything hooked up, and bolted both halves together.
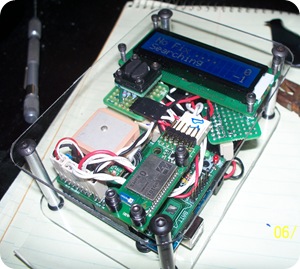
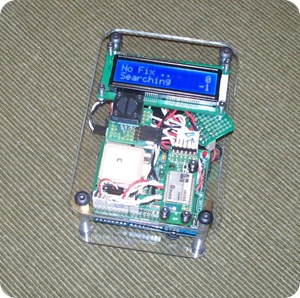
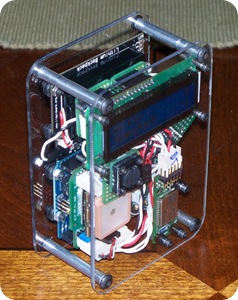
Below are a few shots of the completed enclosure.
Final thoughts:
Overall I’m happy with the results of the enclosure as a general purpose concept. For the GPS unit it’s a bit large, and not horribly strong, but I knew that this was going to be an issue going in. From the hardware standpoint I have learned quite a bit;
- Connectors and wires take up a lot of space.
- Extra boards take up a lot of space.
- The area taken up by mounting screws adds quite a bit of size to the enclosure.
- I don’t care for the membrane buttons. I prefer the tactile switches, but that’s me.
For now I’m done with the hardware side of this project, but I have quite a bit more software work to do. Once I get the software completed and field tested (and probably another project done), I’ll focus on reducing the overall size of the components, and then finding or making another enclosure for it.

